
Running Stable Diffusion on your GPU with less than 10GB of VRAM on Windows
It came out of nowhere
I’ve been watching the rapid evolution of art generated by machine learning, and the pace at which it’s moving is mind-blowing. It happened so fast that it almost feels like it sprung up out of nowhere - all of a sudden we can ask computers to artistically create an original work of art from a mere text prompt, and it’s creepily good (most of the time).
At its current trajectory, it’s on a crash course with the world of stock imagery and has the potential to upend many other visual industries. With some free time on my hands, I decided to play around with Stable Diffusion over the weekend to see how close we are to getting rid of artists altogether.
Setting up
I don’t use my Windows PC for development, so I had to get a Python environment up and running first. Anaconda seemed like a good option to quickly get off the ground, so I used that.
My first stop was the Stable Diffusion Github repo, which details several ways to get Stable Diffusion running - I went with the Diffusers library for its ease of use.
The models we’ll be using are hosted on Huggingface. You’ll need to agree to some terms before you’re allowed to use it, and also get an API key that the Diffusers library will use to retrieve the models.
- Sign up to Huggingface
- Accept the Stable Diffusion models agreement
- Create an Access Token. You’ll use it in the Python script below.
Now that we have an access token, we can run a Python script to generate some images!
Let’s start by running Anaconda. Make sure to run it in Administrator mode, else we won’t be able to use Cuda. If you launched Anaconda in Administrator mode, you’ll find yourself in C:\Windows\System32. Let’s make a folder called stablediffusion where we can save our Python script and the images we generate:
cd \
mkdir stablediffusion
cd stablediffusion
Next, we’ll install some machine learning libraries:
pip install diffusers transformers
Followed by Cuda enabled Torch:
pip install torch==1.12.1+cu116 -f https://download.pytorch.org/whl/torch_stable.html
Now we’ll create an empty file for our Python code, and open the folder in Explorer:
echo.> stablediffusion.py
start .
The last line above should have opened up an Explorer window. Open up stablediffusion.py in your favorite editor (I recommend Visual Studio Code), and paste in the following Python code:
import torch
import random
import sys
from diffusers import StableDiffusionPipeline
from torch.cuda.amp import autocast

# Could probably use an inline lambda for this
def dummy(images, **kwargs):
    return images, False

# Read prompt from command line
args = sys.argv
del args[0]
prompt = " ".join(args)

# I only have 8GB of VRAM on my 3070, so in order to fit the model in memory
# we create the pipeline using float16, rather than the default of float32.
pipe = StableDiffusionPipeline.from_pretrained("CompVis/stable-diffusion-v1-4",
                                                revision="fp16",
                                                torch_dtype=torch.float16,
                                                use_auth_token="YOUR_ACCESS_TOKEN")
pipe.to("cuda")                 # Run on GPU
pipe.safety_checker = dummy     # Disable NSFW check

# Run until we exit with CTRL+C
while True:
    with autocast():
        n = random.randint(1000, 9999)
        image = pipe(prompt, guidance_scale=7.5)["sample"][0]
        image.save(f'{prompt}-{n}.jpeg')
Generate some images
To start generating images, run the following in your Anaconda command line:
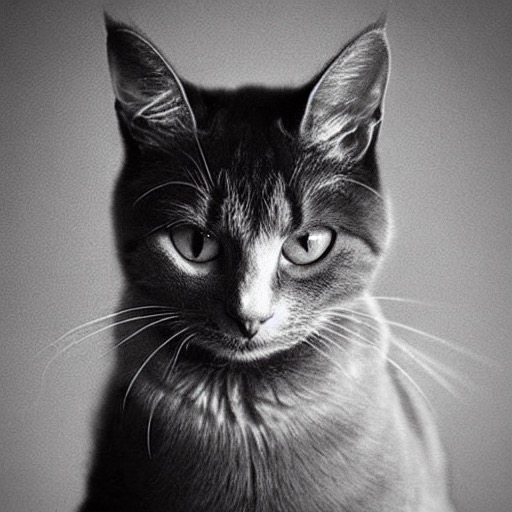
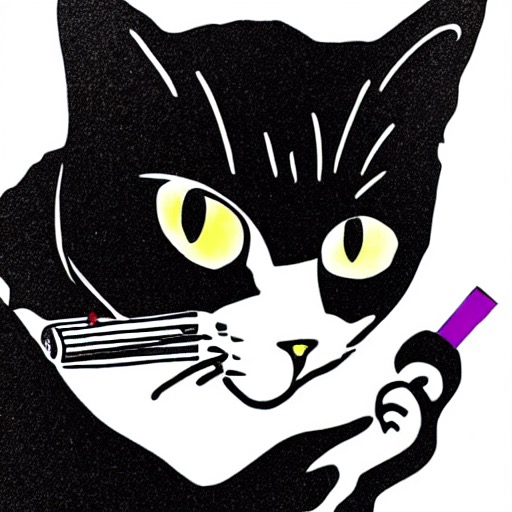
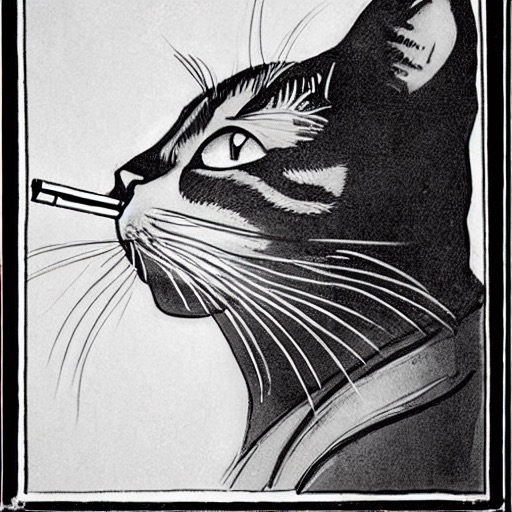
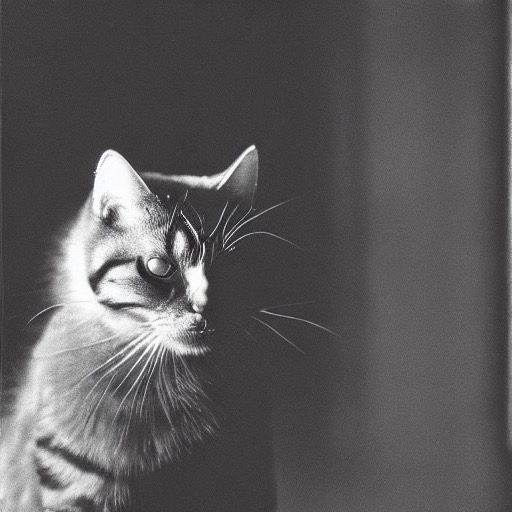
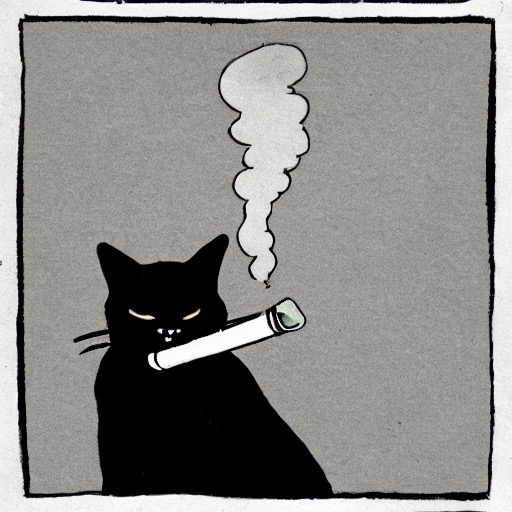
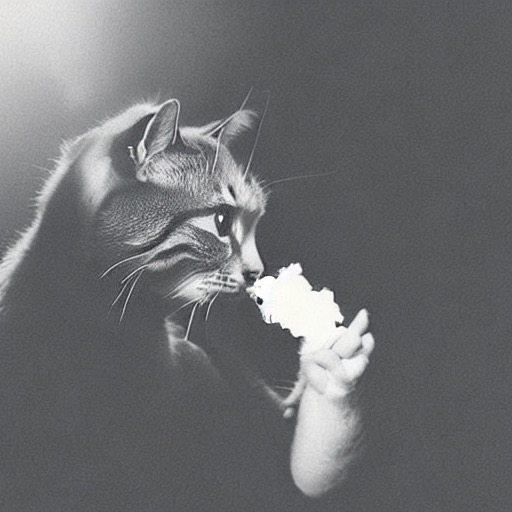
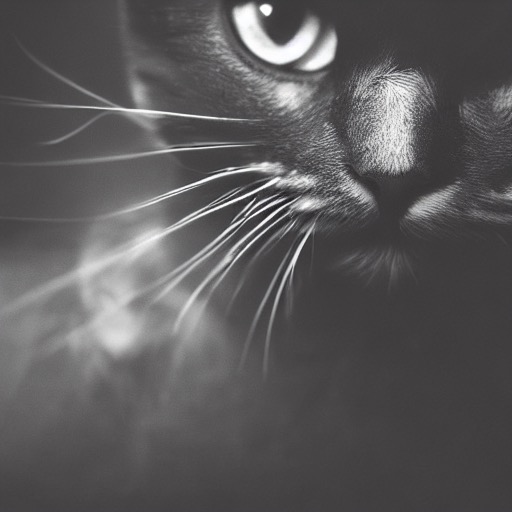
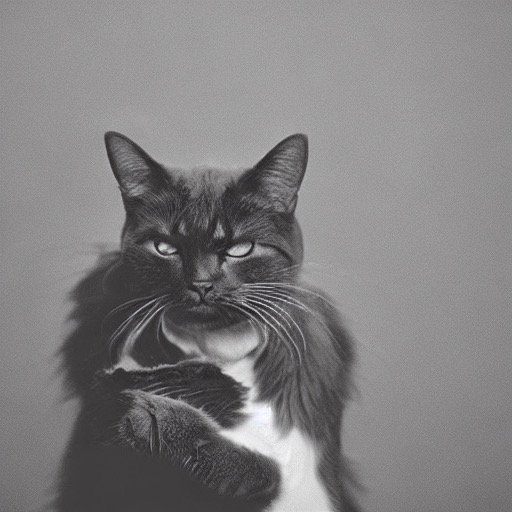
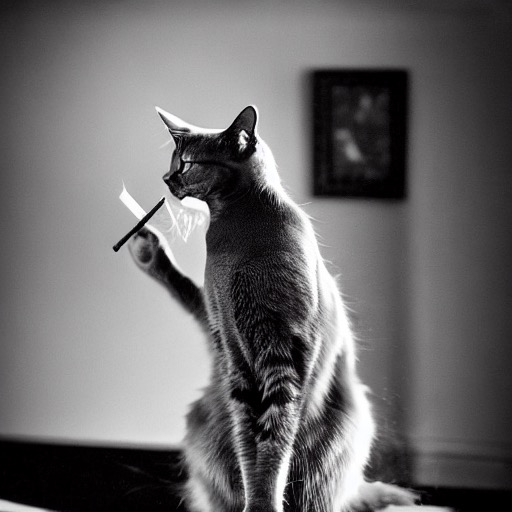
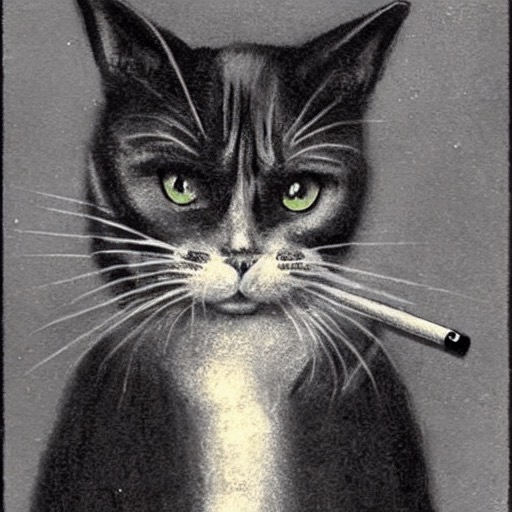
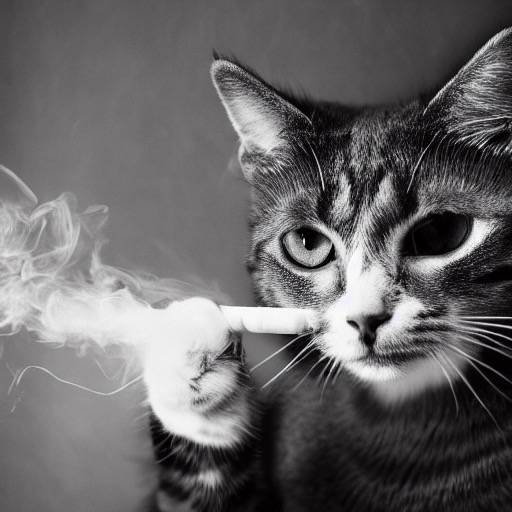
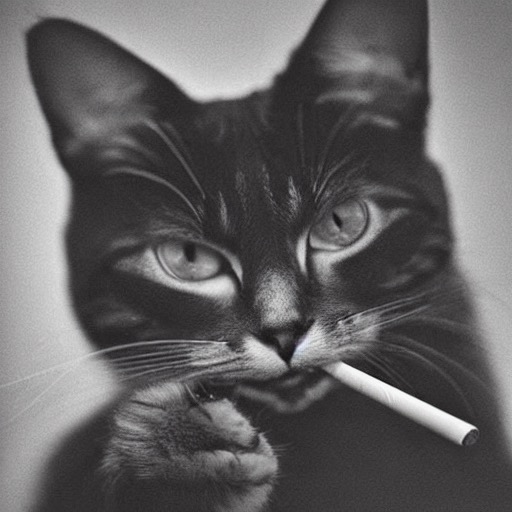
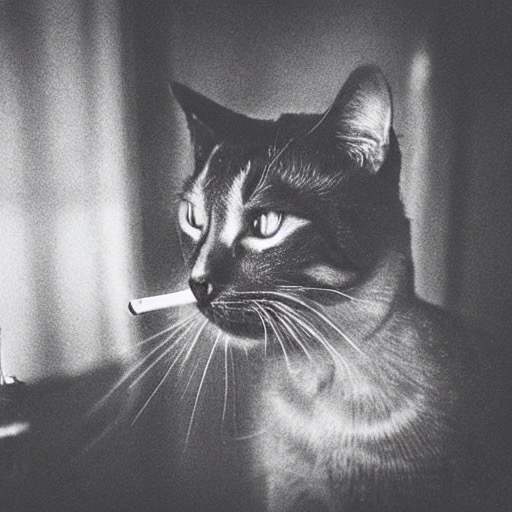
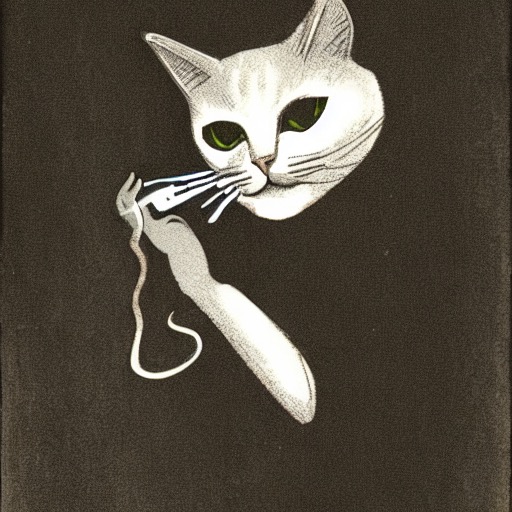
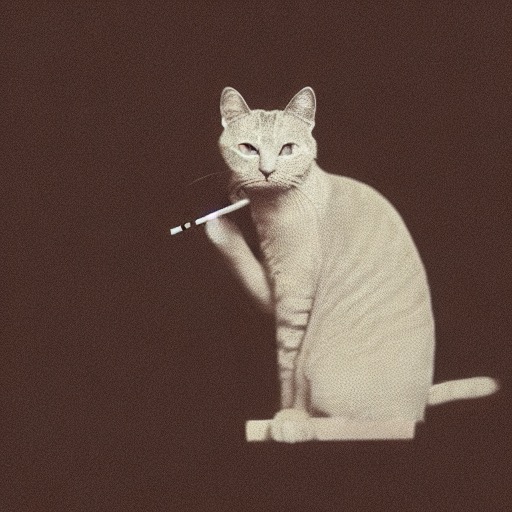
python stablediffusion.py A cat smoking a cigarette. Moody. Dark.
If all goes well, it should download the models, and generate images from your prompt. It will continue generating images until you tell it to quit by pressing CTRL+C.
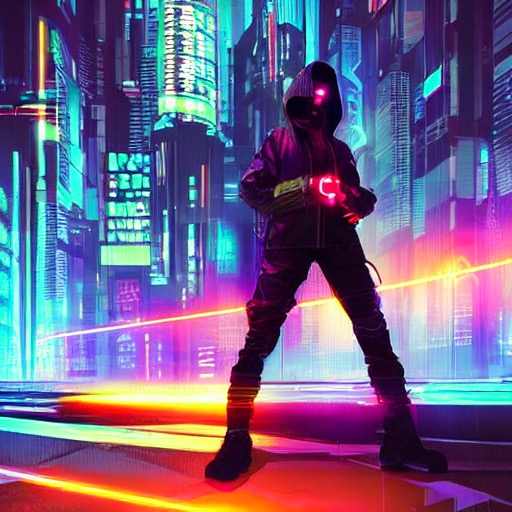
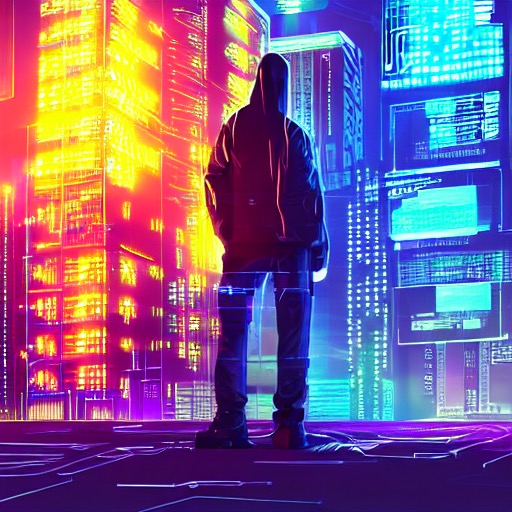
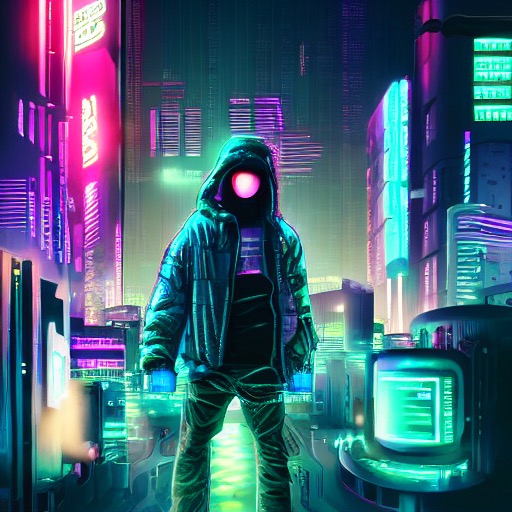
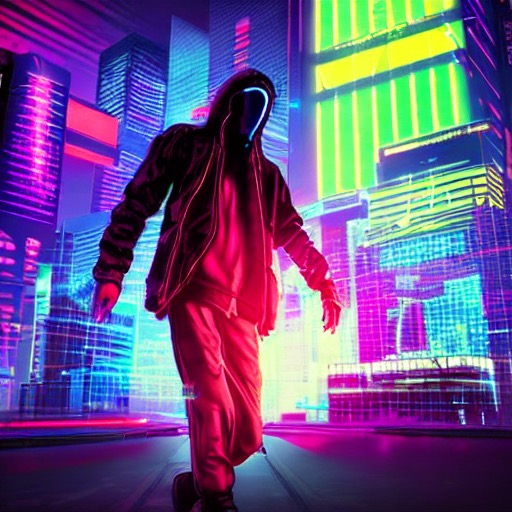
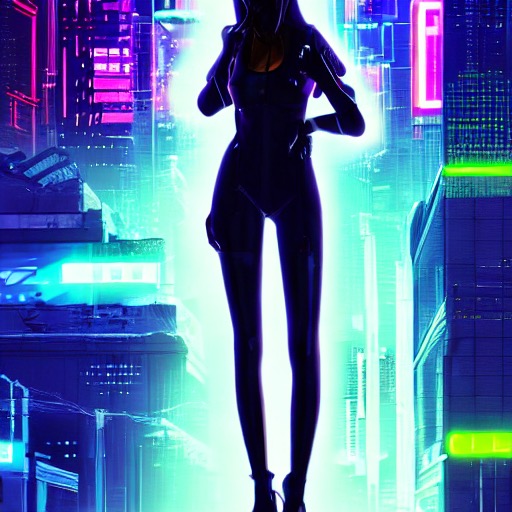
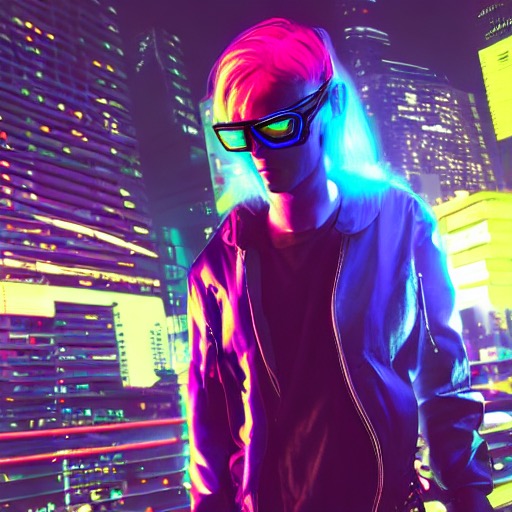
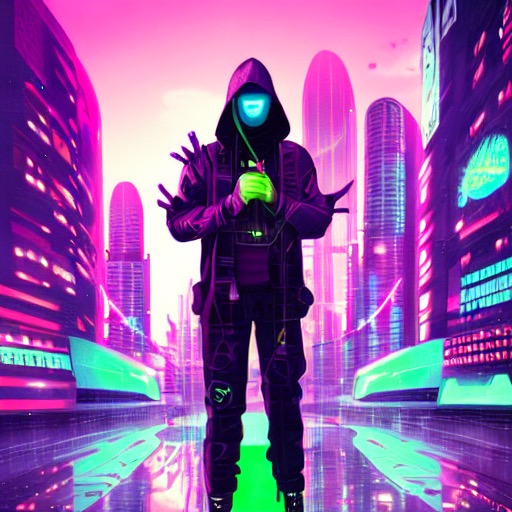
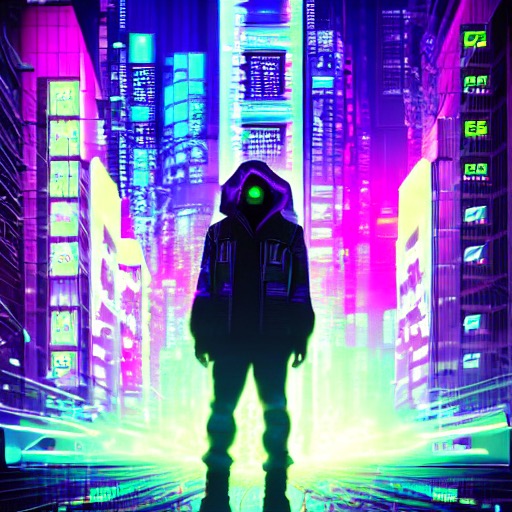
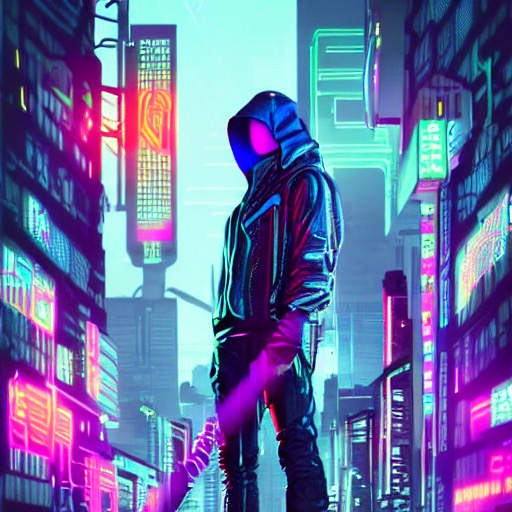
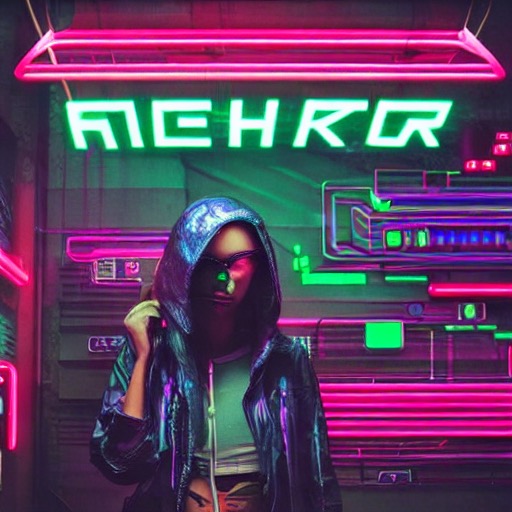
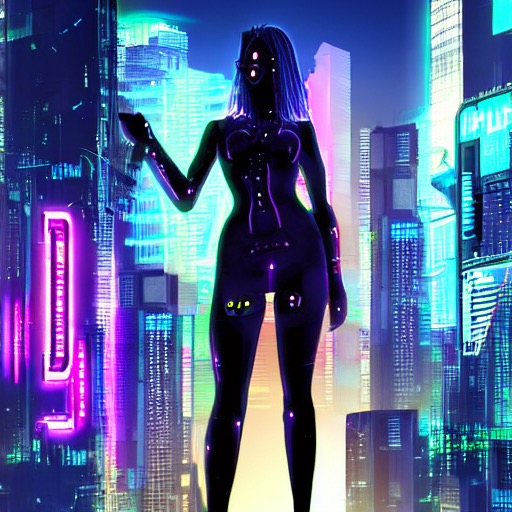
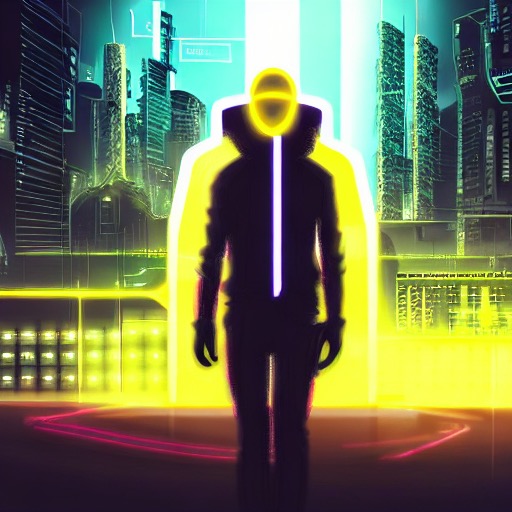
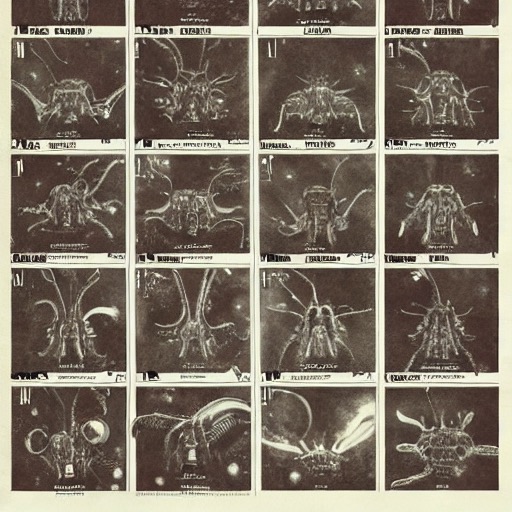
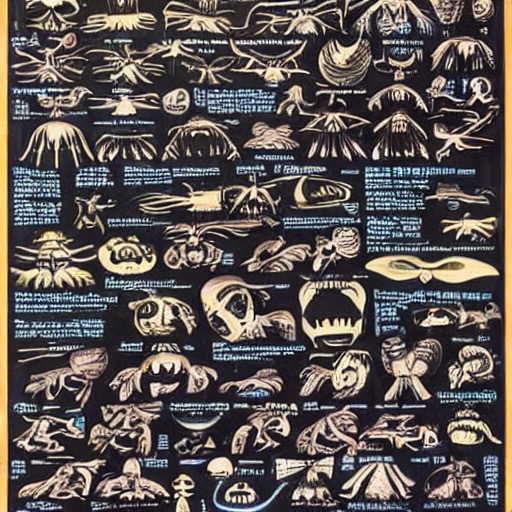
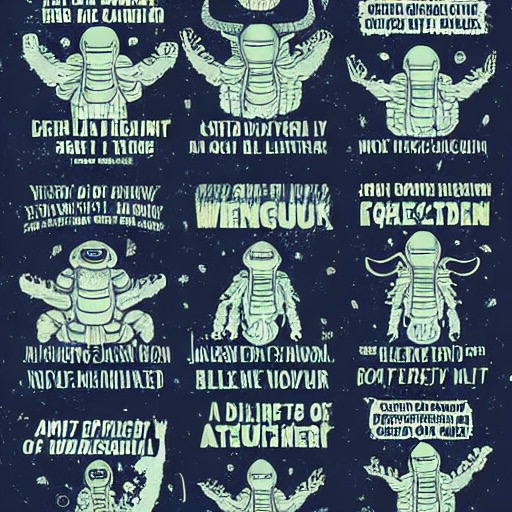
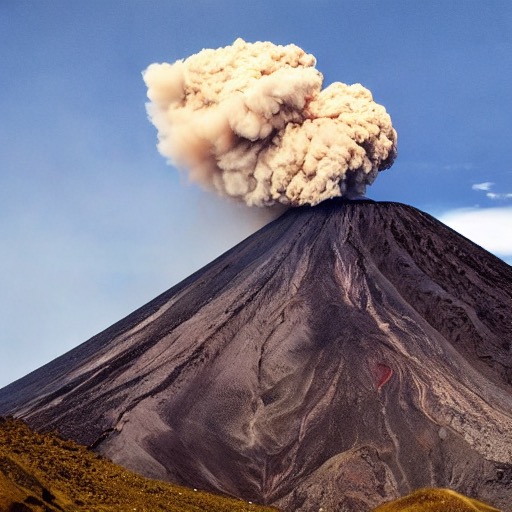
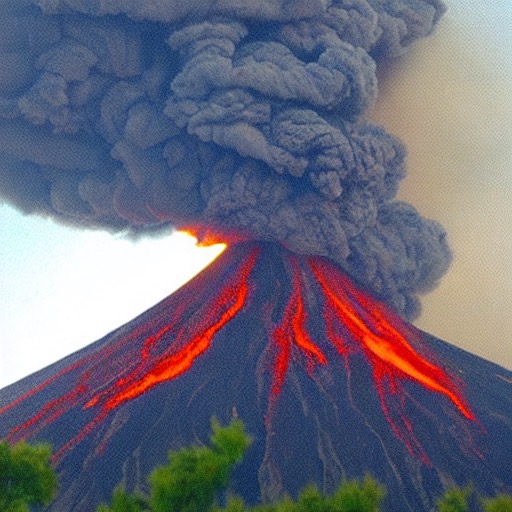
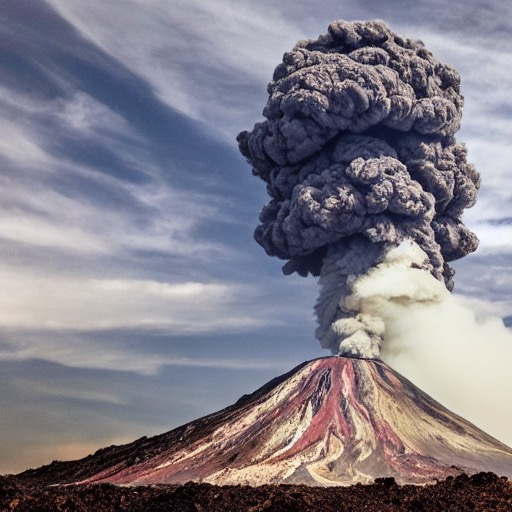
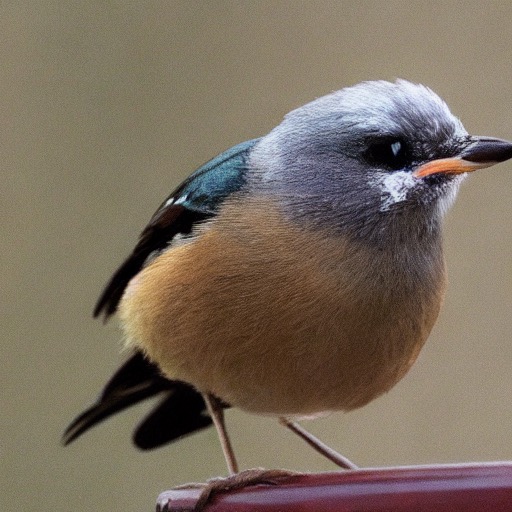
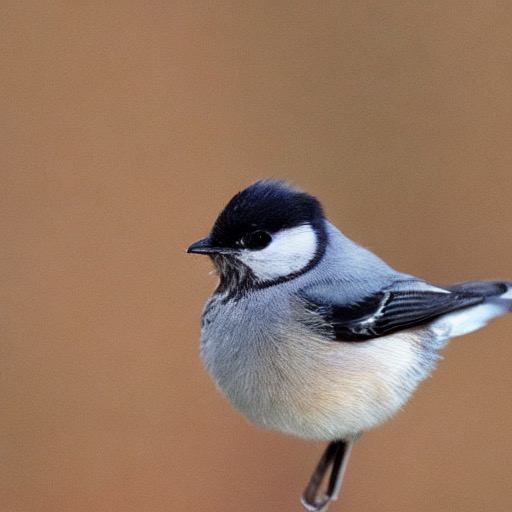
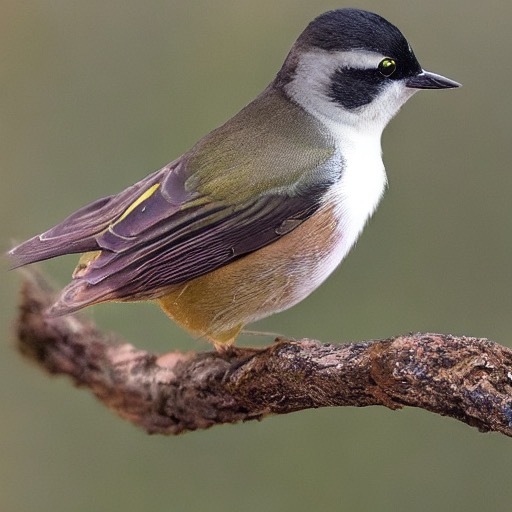
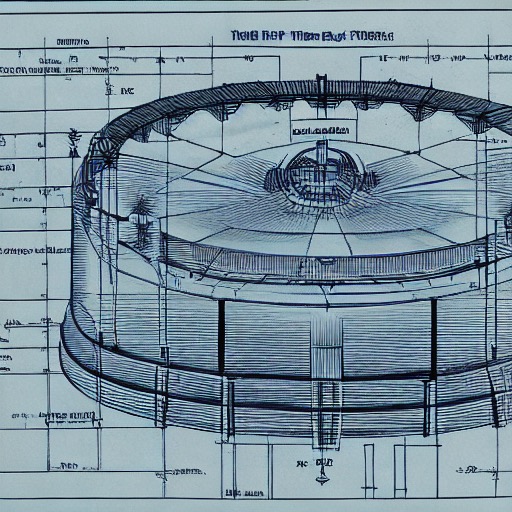
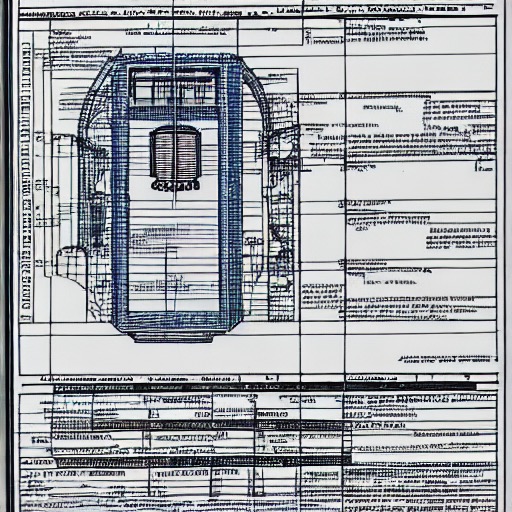
Below are some of the images I’ve generated along with their prompts:
Cyberpunk cyber hacker in the neon city at midnight
A bitcoin in space


A catalogue of aliens
A photo of a volcano erupting
A photo of tits
Blueprints for a time machine

A cat smoking a cigarette. Moody. Dark.
Thanks to HypnHacks for pointing out some issues.